- Matt R.
- Shower drains
- 4384 views

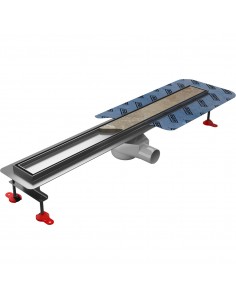
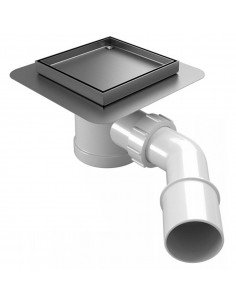
To properly install a shower drain is extremely important for the overall walk-in shower construction. All the preparatory work yield on the right look and good water drainage. Taking good care of every step of installation gives us a guarantee for trouble-free shower use for many years. Below you will read a universal outline of the activities to be performed during installation.
Before starting it is very important to check the proper tightness of the siphon to the drain, and siphon to the sewerage connections. It is best to first check the connections by hand and then test everything with large amounts of water, watching for possible leaks. Even with the smallest leaks, the work can not be continued. Leaks can be caused by, for example: rolled gaskets, dirt or inadequate slope of the drainage pipe.
After a successful leak test, it is a good idea to protect the drain opening from mortar debris. Manufacturers, sometimes add plugs or mounting keys that can be placed in the water outlet at the time of dealing with the mortar. You can find such mounting key in our Wiper products. In other case you can simply cover the hole with masking tape. Also secure the edges of the drainage channel itself so that you do not scratch it when leveling slopes.
Then, with the help of the measuring tape and level, once again carefully check the appropriate drainage setting. Check the distance of the drain from both walls (when installing in the corner) taking into account where the shower screen will be located. The parallel alignment of the drain to the wall is important not only for aesthetic reasons. A poorly set linear drain will hinder you from creating symmetrical slopes and cutting tiles properly. Next, check the height of the drain in relation to the rest of the floor and level the outflow itself. The floor fall should not be less than 2%. That is why it is worth choosing drains with stable and easy to adjust feet.
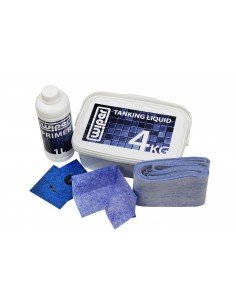
To improve adhesion, you can paint the entire surface with a priming emulsion. After it dries, proceed to prepare the screed. It is best to use a fast-breaking, elastic screed. This will reduce the risk of cracks and you will be able to continue work sooner. The mortar should be mixed exactly as stated by the manufacturer. It is best to do the whole screed in one go, so it is worth having someone to help with the preparation of the mortar or use a larger bucket.
Lay the mortar carefully and do not forget to stuff it under the drain well. Next, with the help of a trowel and level, remove the excess mortar and fill any defects until a smooth surface is obtained. In tighter spots next to the wall you can use a decorators knife. Then, gently mark all corners starting from the drain channel.


