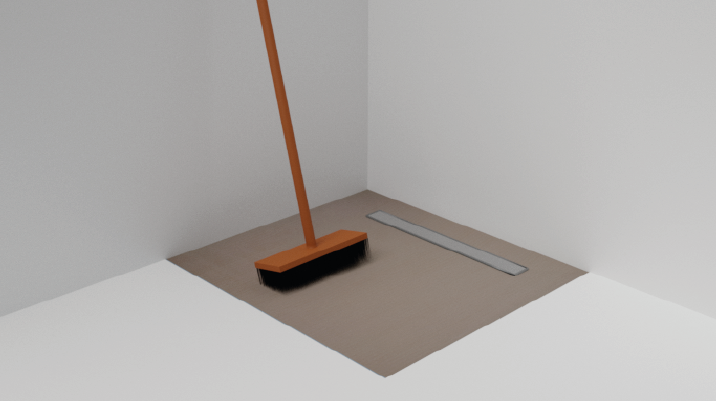
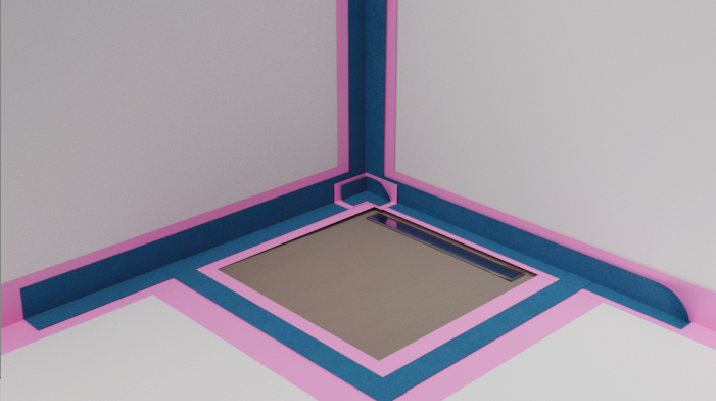
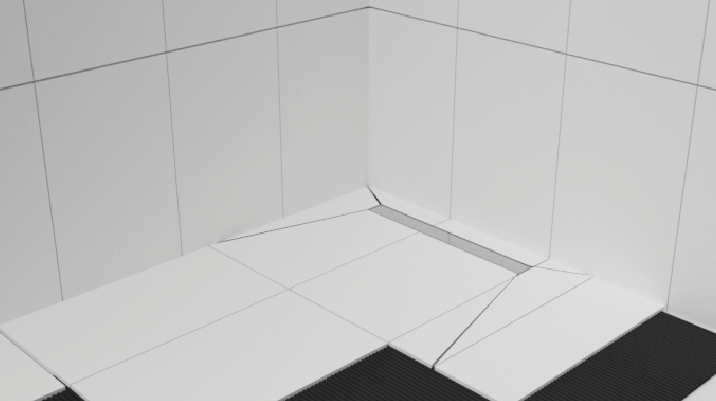
Waterproofing Guideline
Good value. Arrived quickly. As per the description.
Excellent customer service
All good
Ordered pre formed wet room tray, couldn't be happier, it arrived in less than 24hr, just what I needed for the job, well done great... Show full review
Offered to supply a more premium product as the one I ordered was not in stock. The urgency meant I did not take up the offer but it... Show full review
Premium product, no doubt.
Great build quality and an aesthetically pleasing design.
The service I. Terms of delivery and the delivery details was excellent. Very fast indeed.
with the detailed instructions provided installation was a snap
The finish in black drain is gorgeous and fits perfectly in my bathroom.
Superb quality
Quality, style, and functionality all in one.
Customer service was amazing
I found exactly what I needed for waterproofing my bathroom.
I was impressed by the variety of colors available for the drains.
Fast delivery and excellent communication.
I installed the MCR drain, and it’s exactly what I was looking for.
Good feedback from Zach about stock and quickly sorted delivery within agreed time.
I ordered the ELITE drain in brushed gold, and it looks stunning
The product quality is unmatched


