- Alex D.
- Shower drains
- 1522 views

In previous article we discussed basic information about bathroom sealing. Now we know why to seal our bathroom and what the advantages of proper insulation are. No matter which method of sealing you choose, whether insulation mats or tanking liquid, insulation is more complex and does not rely only on these steps. This process is more complicated than it seems, and in this guide we will describe other individual steps in waterproofing shower space.
CLEANING
After properly installing the drain or showerlay, we can proceed to waterproofing the bathroom and the shower space. Before starting work, make sure you have all the necessary products, such as insulation mats or adhesives, and tools, ready for use and in adequate quantities. Start with removing oil stains, residues which could impair adhesion such as waterproof adhesive residues, cement paste and dirt very thoroughly. The substrate must be structurally sound, clean and able to bear weight.
PRIMING
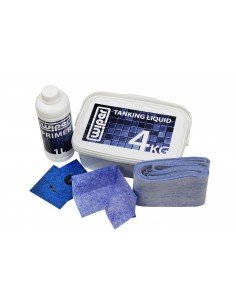
At the beginning, we must prime the surface of the walls and floors. This process increases the resilience and adhesion of the substrate, thus providing better bonding to further insulating elements. Plus, priming significantly improves resistance to water, shock, frost and chemical damage.
FLOOR LEVELLING
Laying a concrete floor slab or floor screed over a fairly large area lends itself to a little inaccuracy simply because of the difficulty in moving and laying an extremely wet and heavy material like concrete. It is really hard to make it 100% level. Self levelling compound to get a concrete floor slab level depends on how much it is out of level in the first place. It can only be used if the floor is out of level by 5mm or less.
SEALING MATS
After our surface is clean and primed we can proceed to insulation. First, we cover large sections of floor surfaces and walls with insulating mats. Mats can be glued with flexible tile adhesive. When covering the walls with mats, it should be done carefully and attentively. Covering large areas with insulation mats ensures that the water that penetrates the tile joints will not get into more sensitive areas.
SEALING JOINTS
When the mats are already located, all the joints, both mats and various surfaces, should be sealed with specially prepared ISOL-ONE elements, including internal and external corners, sealing tapes and insulating drain membrane. We recommend sticking it with tanking liquid, which provides additional sealing, when the membranes will not secure sensitive water areas enough.
FINISH MATERIAL
After all steps have been completed correctly, the surfaces, after drying, are ready for the finishing material - tiles, stone, etc. On the insulation layer we can use tile adhesive. Now your bathroom is completely sealed!


